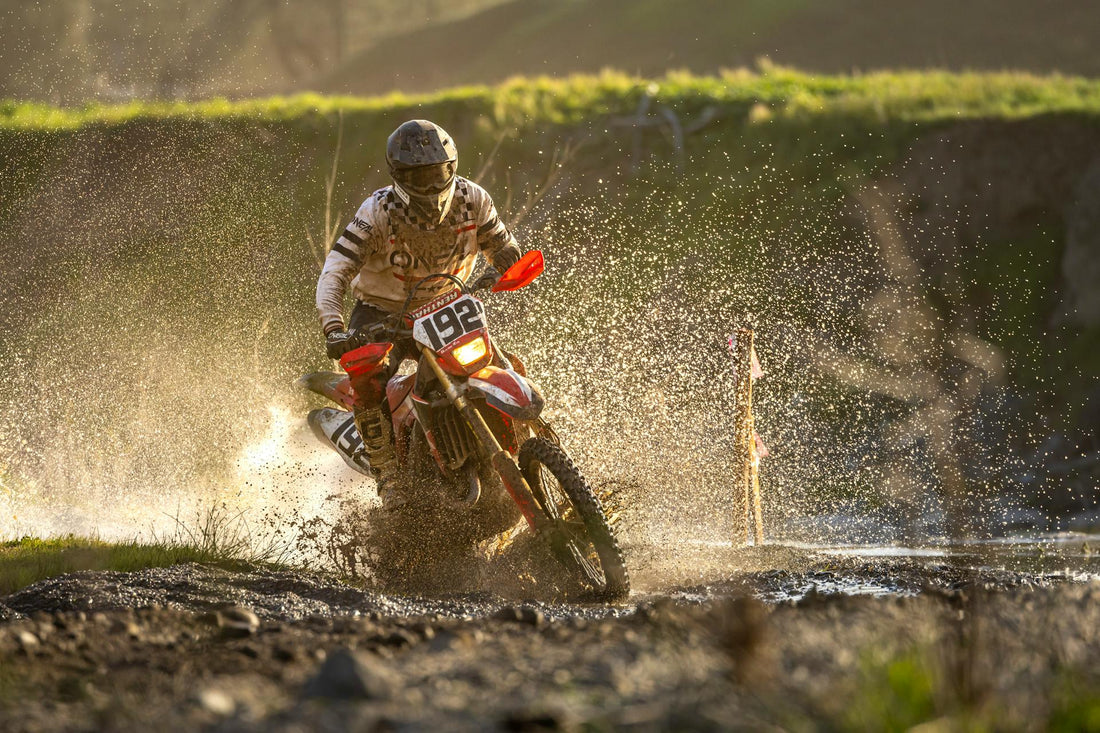
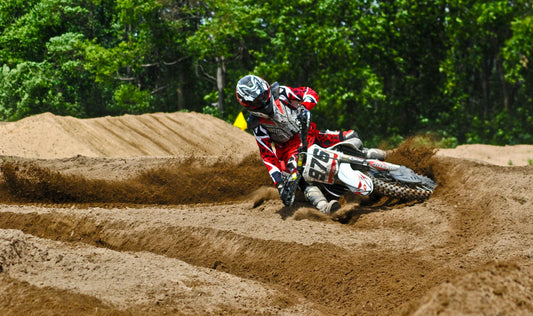
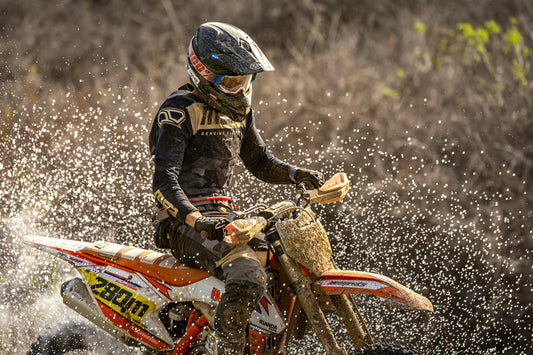
Dirt biking is more than just a sport—it’s a lifestyle. Whether you're an amateur rider or a seasoned pro, customizing your dirt bike with a high-quality wrap not only adds personality but also protects your bike from wear and tear. In this guide, we’ll explore everything you need to know about dirt bike wraps, from their benefits to installation and maintenance.
Why Choose a Dirt Bike Wrap?
A dirt bike wrap is more than just an aesthetic upgrade. Here are some key benefits:
-
Protection from Scratches and Debris – A high-quality wrap acts as a barrier against mud, gravel, and scratches.
-
Cost-Effective Customization – Cheaper than a paint job, wraps offer flexible and reversible customization.
-
Easy Application and Removal – Unlike permanent paint, wraps can be applied and removed easily.
-
Improved Resale Value – Preserving the original paint helps maintain resale appeal.
Applying a Dirt Bike Wrap
-
Clean the Surface – Remove dust and grease before application.
-
Measure and Cut the Wrap – Pre-cut sections for a better fit.
-
Apply the Wrap – Use a squeegee to eliminate air bubbles.
-
Use Heat for a Secure Fit – A heat gun ensures proper adhesion.
-
Trim Excess Material – Use a precision blade for a clean finish.
Maintenance Tips
-
Wash with mild soap and a soft cloth.
-
Avoid high-pressure washers.
-
Store in a shaded area.
-
Reapply heat if edges lift.


